
Simple Storage for a Simple Homelab
This week’s homelab project was all about storage. I’ve been slowly accumulating data across multiple services and containers, and it finally made sense to build out a dedicated NAS. The goal was to keep it low-power, cost-effective, and make use of some of the old hardware I’ve collected over the years as a lifelong PC gamer.
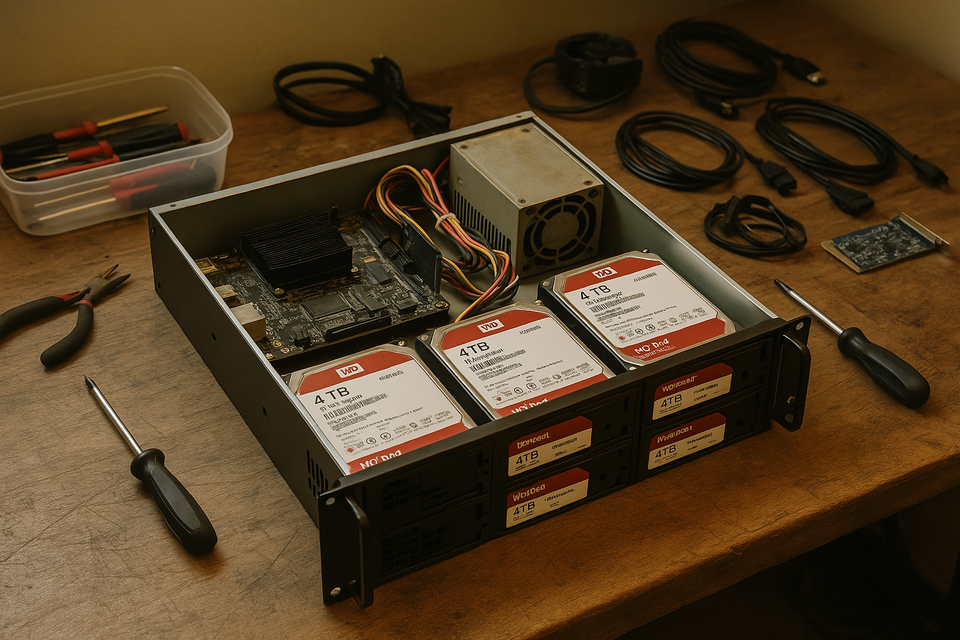
The Build
I picked up a few key parts to make this NAS work the way I wanted:
- Mainboard + CPU: [CWWK N305 combo] — compact, quiet, and super low power. Perfect for a 24/7 box.
- Storage Drives: Four 4TB WD Red 5400 RPM HDDs — reliable NAS-grade disks. One is dedicated to parity, leaving me with 12TB of usable space.
- Chassis: A Rosewill 2U rackmount case that fits nicely into my rack setup and has solid airflow.
Everything else? Pulled from the retired hardware bin I keep :
- RAM: 32GB of DDR4 I had on hand. Overkill for now, but nice to have if I want to run heavier workloads.
- Power Supply: Salvaged from a retired gaming computer — still works great.
- Cache Drive: An old NVMe SSD I repurposed as a cache to speed up writes and reduce HDD wear.
Why Unraid?
I considered TrueNAS, especially with its great support for ZFS, but my goals were a little different. ZFS really shines when you can throw a lot of RAM at it, and while I have a decent amount of memory, I wanted something more lightweight and flexible.
That’s where Unraid came in. It’s not free, but it fits. I can run my NAS with a single parity disk, add drives over time without rebuilding arrays, and take full advantage of that repurposed NVMe SSD for caching.
How This Fits Into My Homelab
This NAS isn't just a data dump — it's becoming a key piece of my overall homelab strategy.
I'll be using it as persistent storage for metric data coming from my monitoring stack, which includes Prometheus, VictoriaMetrics, Grafana, and Blackbox Exporter. Having a dedicated location for this kind of data means I can keep my Raspberry Pi cluster focused on the actual compute work without worrying about wearing out SD cards or USB drives.
It’s also going to serve as another backup destination for my Proxmox VMs and LXC containers. With the amount of testing and tinkering I do in my lab, having reliable, local backups is a must.
And for personal use? It'll house my photo library and music collection, giving me a central, always-on location for the stuff I actually care about preserving.
Wrapping Up
This build didn’t cost me much thanks to all the recycled parts, and it fits perfectly into the power and simplicity goals I’ve been aiming for in my homelab. It's already up and running, backing up data, and ready for some light Docker workloads if I need it.
Next up: probably more storage automation and a deeper look at backups. But for now, I’m pretty happy with where things landed this week.